What to expect from a landscape design and installation project
By Diego Fischer · Updated 2026-08-06
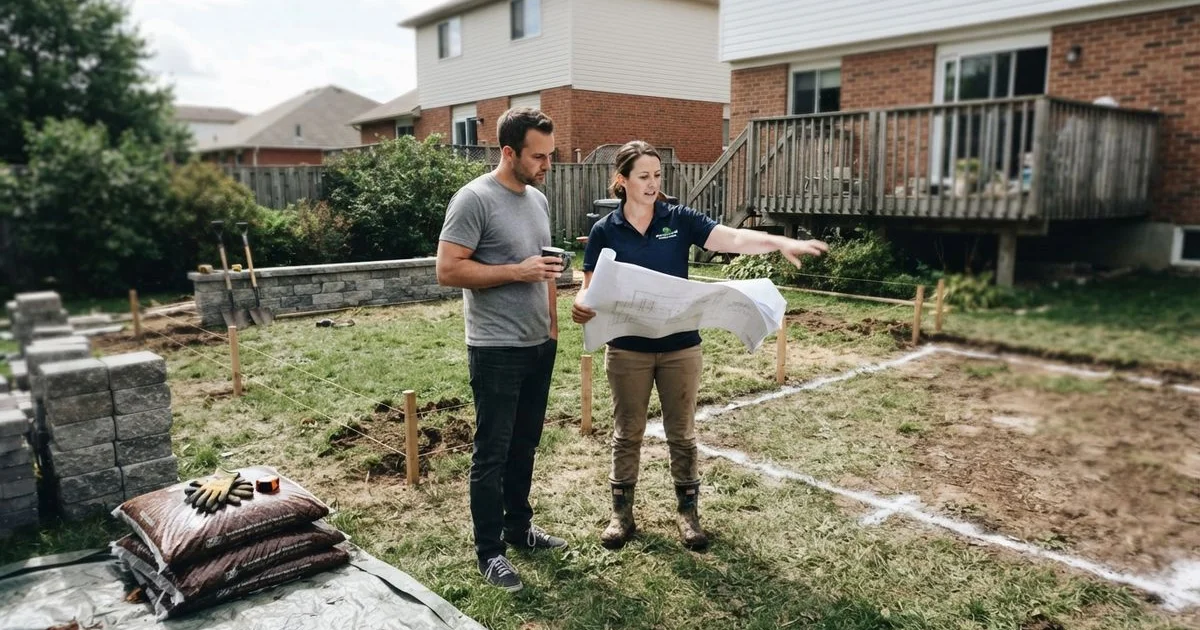
Landscape design and installation is one of the biggest-ticket projects a homeowner takes on in this niche, and also one of the least understood in terms of what actually happens between “I want a nicer backyard” and a finished space. Here’s the typical sequence, from the first phone call to the finished result.
Step 1: Consultation and site assessment
A contractor walks the property, takes measurements, notes sun exposure, drainage patterns, soil condition, and any existing features you want to keep. This is also when you talk through budget range and priorities, since a realistic budget conversation early avoids a design that gets redrawn later. Good contractors ask what you actually use the space for, not just what looks good in a photo.
Bring photos or examples of styles you like to this first meeting if you have them, even rough ones from a magazine or a neighbour’s yard. It gives the designer a clearer starting point than a verbal description alone, and it’s much easier to adjust a shared reference than to guess at what you had in mind after a design is already drawn up.
Whether this is a forever-home project or something you’re doing right before a sale changes what’s worth prioritizing. If it’s the latter, landscaping before selling your house in Ontario covers which projects tend to pay off and which don’t.
Step 2: Design and proposal
You’ll typically get a sketch or rendering showing plant placement, hardscape layout, and grading, along with a written scope and price. This is the stage to push back on anything unclear. If the proposal is vague about materials, plant sizes, or what’s included versus optional, ask before signing.
Step 3: Permits and prep, where needed
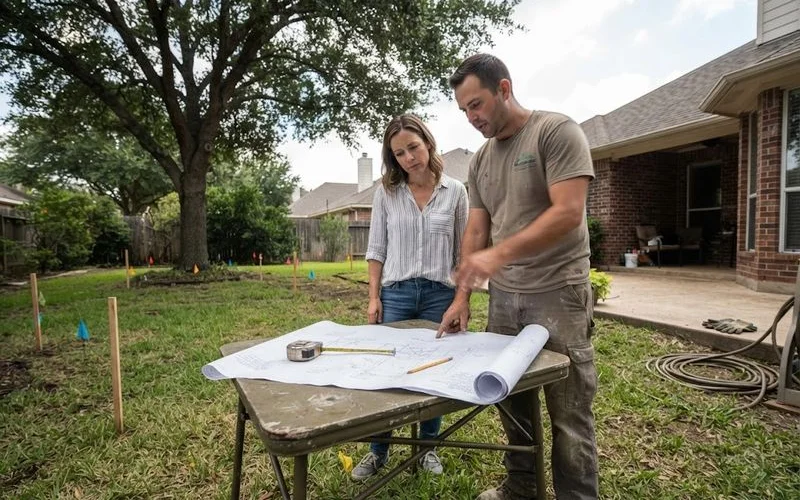
Larger projects, especially those involving retaining walls, significant grading changes, or drainage work near a property line, may need a municipal permit. A contractor familiar with your municipality should flag this during the design stage, not after materials arrive. Site prep, like removing old plantings or clearing debris, usually happens right before installation begins.
Material ordering also happens during this stage, and lead times matter more than most homeowners expect. Sod, specific plant varieties, and certain paver styles can take days to weeks to arrive depending on the season and supplier, which is part of why a contractor gives you a start date rather than starting the week you sign the proposal. Asking about material lead times upfront helps set realistic expectations for when your project actually begins.
Step 4: Installation
This is the physical build: grading, hardscape installation (patios, walkways, retaining walls), irrigation and lighting rough-in if included, then planting and finishing touches like mulch. The order matters. Hardscaping and underground work (irrigation lines, drainage) go in before final planting, since digging after the fact risks damaging new plants.
| Phase | What happens | Typical timing |
|---|---|---|
| Consultation | Site walk, measurements, budget talk | 1 visit |
| Design | Plan, materials list, proposal | 1-2 weeks |
| Permits (if needed) | Municipal review | 2-6 weeks |
| Installation | Grading, hardscape, planting | Days to several weeks |
| Walkthrough | Final review, care instructions | 1 visit |
Step 5: Final walkthrough
A good contractor walks the finished space with you, points out any care instructions (new sod watering schedule, plant establishment period), and addresses anything that doesn’t match the agreed scope before calling the job done. Ask for this explicitly if it isn’t offered.
New plantings and sod typically need more attentive watering for the first few weeks than an established lawn or garden, so a clear watering schedule at this stage matters more than it might seem. Losing new plants to under-watering in the first month is a common and avoidable disappointment after an otherwise well-executed project.
What separates a smooth project from a frustrating one
The corpus of reviews across this niche points to a consistent pattern: projects that go well have clear, proactive communication at each stage, and projects that go badly usually involve poor follow-up on quotes, unexplained delays, or scope that shifted without a conversation. Ask upfront how the contractor will keep you updated once work starts, and treat a vague answer as a flag worth noting.
If you want to see how landscape design providers in your area score on communication and workmanship, browse the landscape design and installation category, ranked using our published methodology, to compare options before you commit to a design consultation.
The full Ontario landscaper directory lists vetted providers across every category if you want to compare beyond design and installation.
Common questions
- How long does a full landscape design and installation take?
- A small garden bed refresh can wrap in a few days. A full property redesign with hardscaping, planting and grading usually runs several weeks once work starts, not counting the design and permit stage beforehand.
- Do I need a formal design plan before work begins?
- For a small planting project, often not. For anything involving grading, drainage changes, or hardscaping, a drawn plan helps you and the contractor agree on scope before crews and materials show up.
- When in the process do I pay?
- Most contractors ask for a deposit to secure materials and schedule the crew, then bill in stages tied to project milestones, with a final payment on completion. Get the payment schedule in writing before work starts.
- What happens if I want to change something mid-project?
- Reasonable to ask, but changes after materials are ordered usually mean added cost and time. Lock in the design details you care about before the deposit, and treat mid-project changes as the exception, not the plan.